Tuesday, January 08, 2013

A winter weekend spent outside, wearing nothing but wool & canvas

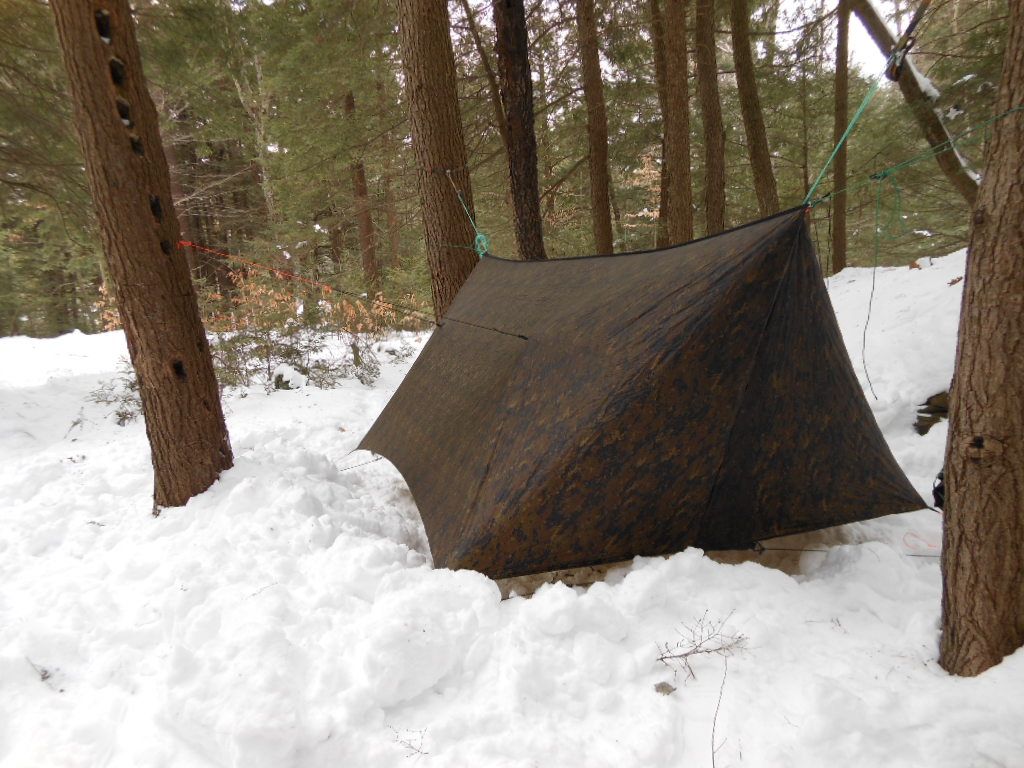
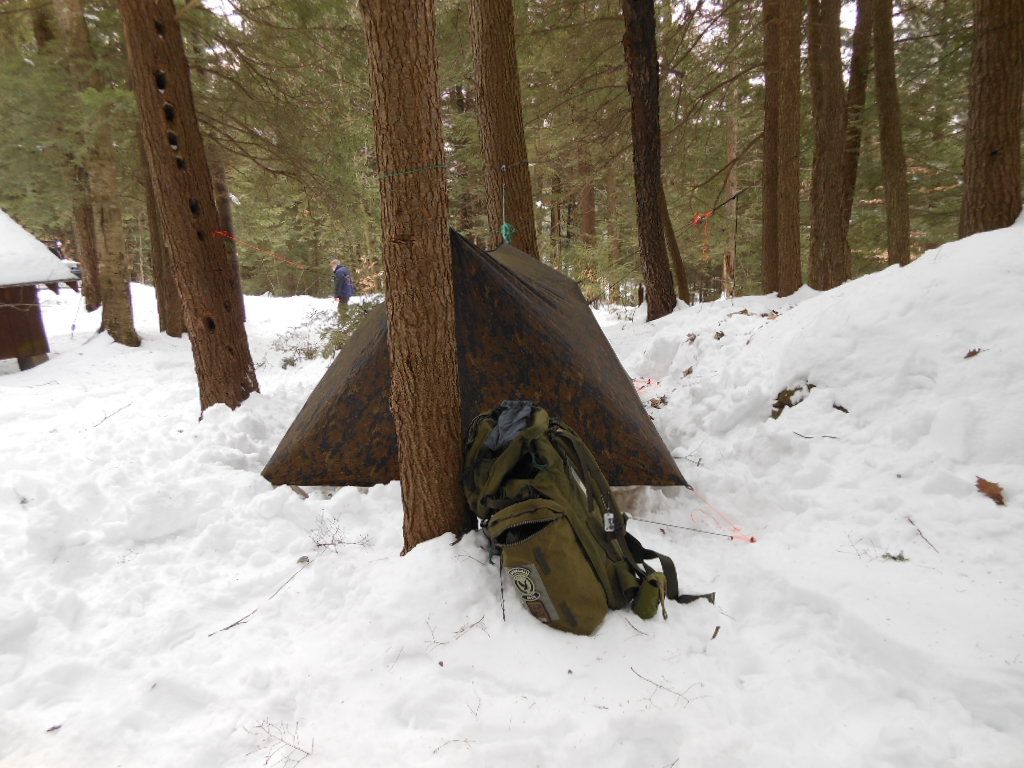
I had the opportunity this past weekend to go camping/snowshoeing out in western Massachusetts, and experience my first winter hammock hanging experience. I have been winter camping before, but never did so with a hammock, and, as this was a drive in & park, with a short walk, I figured this would be ideal, as I could take ample gear, just in case. Also, I decided that, for this weekend, I would use ONLY natural materials as my clothing, to see how that worked. This is something I had never done previously, and had some new gear I wanted to try out.


Here is a breakdown of what I had:

Sleeping/shelter gear:

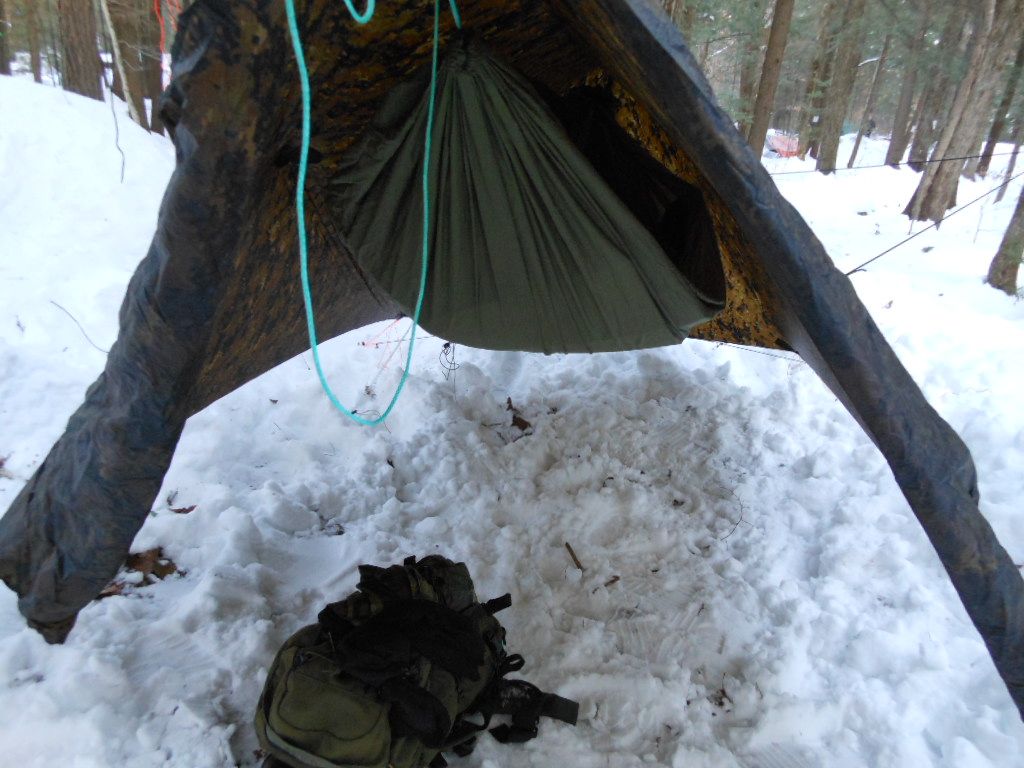
Warbonnet Blackbird hammock

Gossamer Gear CCF pad

Homemade reflectix pad for additional insulation

¾ length Underquilt (brought, but didn’t use, as the pads were enough)

North Face 0* synthetic sleeping bag

Warbonnet Superfly tarp


Clothing:

Merino wool long undershirt (worn)

Merino wool sweater (bought at salvation army for $1.99), worn

Heavier wool sweater (also bought at salvation army, for $2.99), not worn, but taken, just in case

Wool shirt, heavy weave, for wind resistance, worn at night

LL Bean wool vest, worn

Knit wool army watch cap, worn

Ragg wool half gloves, with the mitten part that flips over, with polypro glove liners, worn

German army wool pants, worn

Merino wool socks, worn (2 extra pairs for the weekend)

USAF mukluks, with wool felt liners, worn

Ragg wool socks, for sleeping in (thick)

Medium weight polypro long underwear, for sleeping in

Snugpak parka, never worn-taken, just in case (used to stuff the bottom of my bag though).

Cooking:

Small Mors pot, with bail, titanium spork, and SS mug, with reflectix cozy.

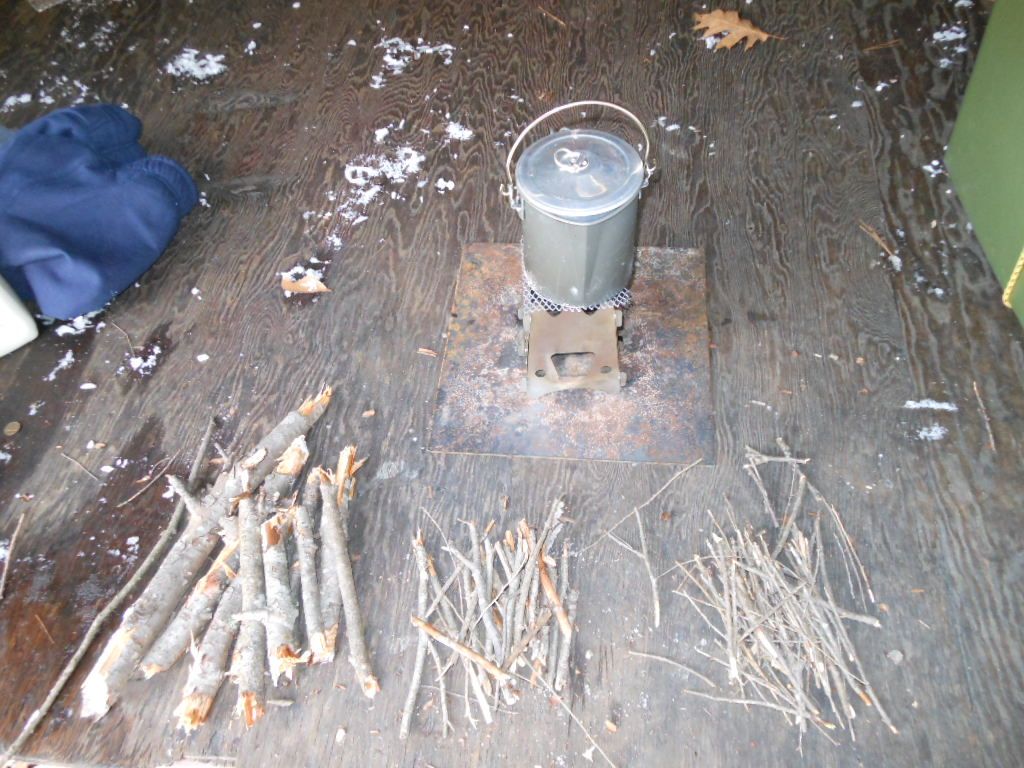
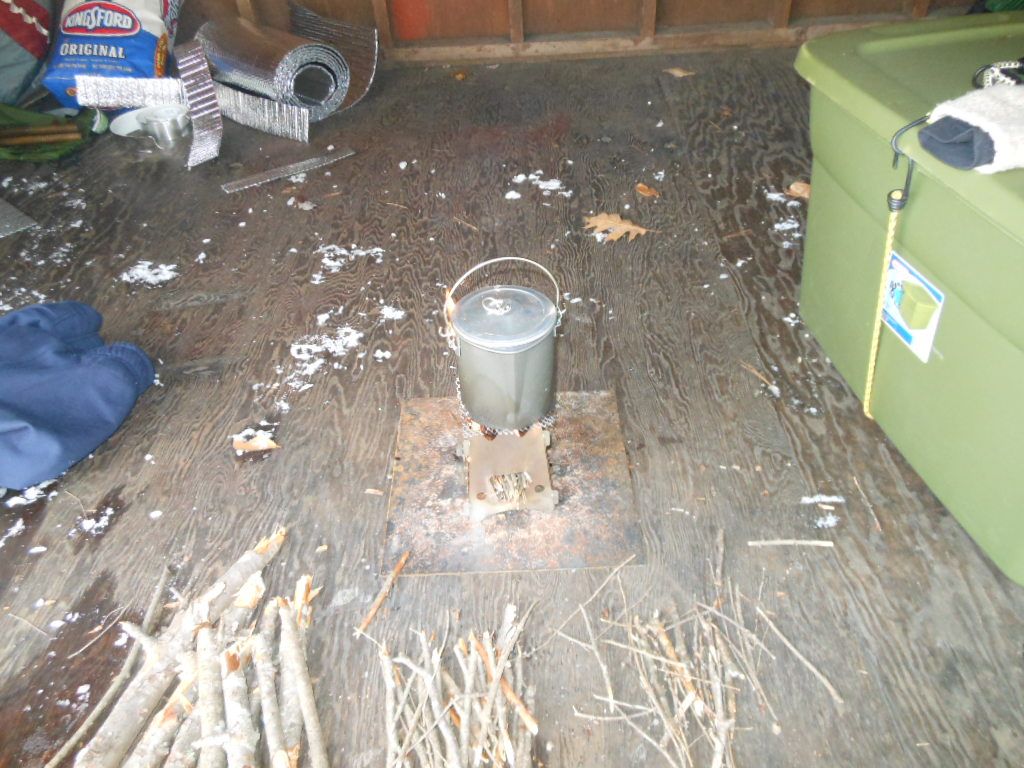
Stove is my Emberlit.

So, with all that, I spent a weekend with fellow hammock hangers-many of whom, like me, had never done a winter hang before. A couple of people didn’t pack proper footwear-which is why we decided this one would be something that people could drive into, and out of, just for that reason. So, on to the actual fun parts:

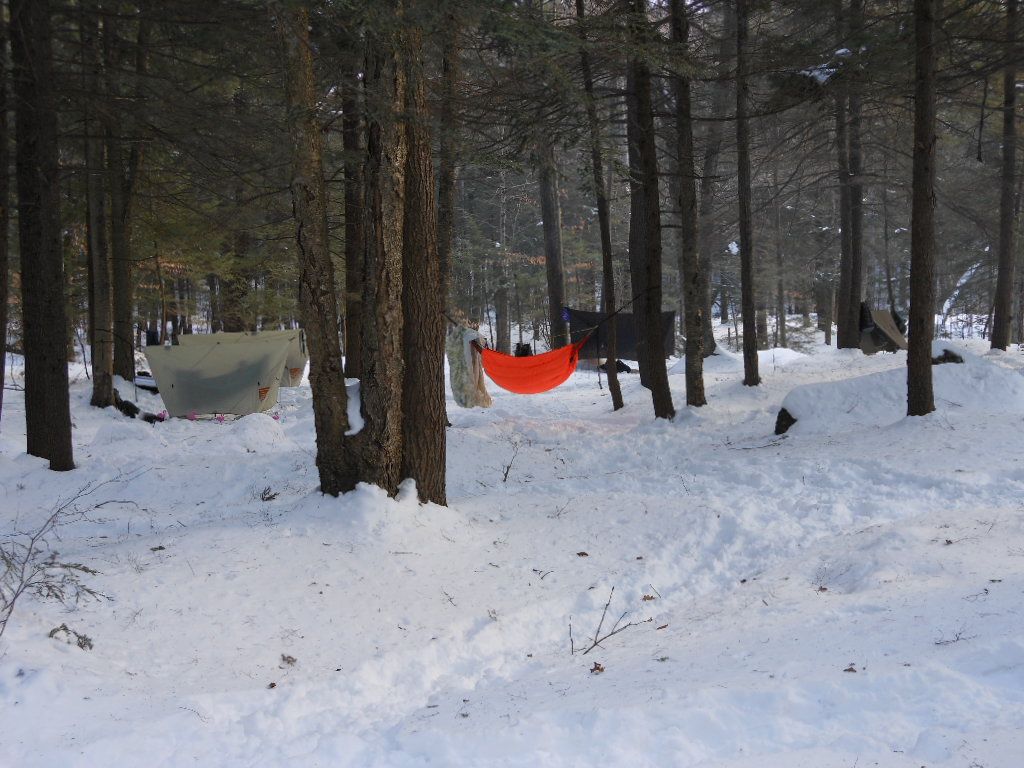
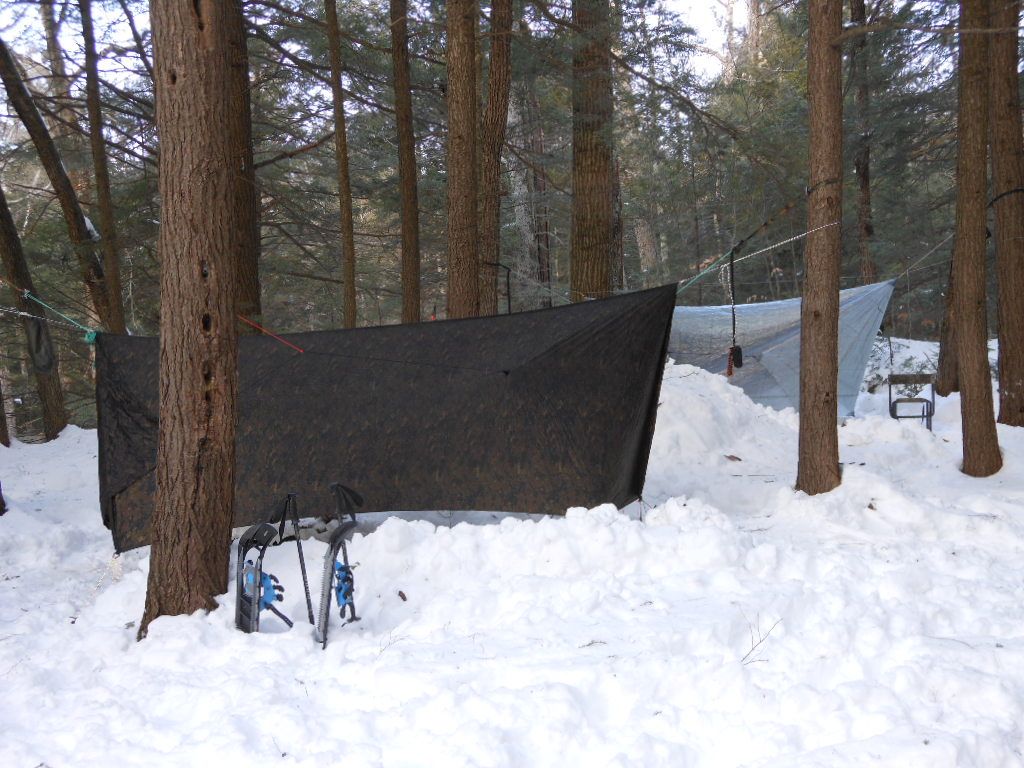
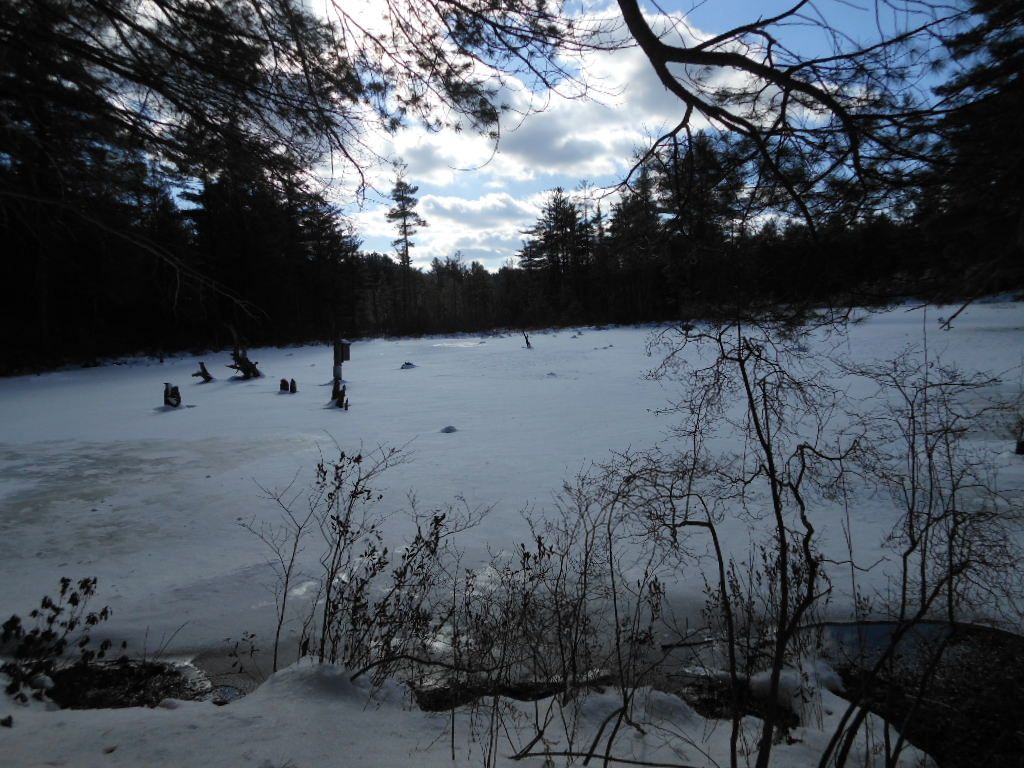
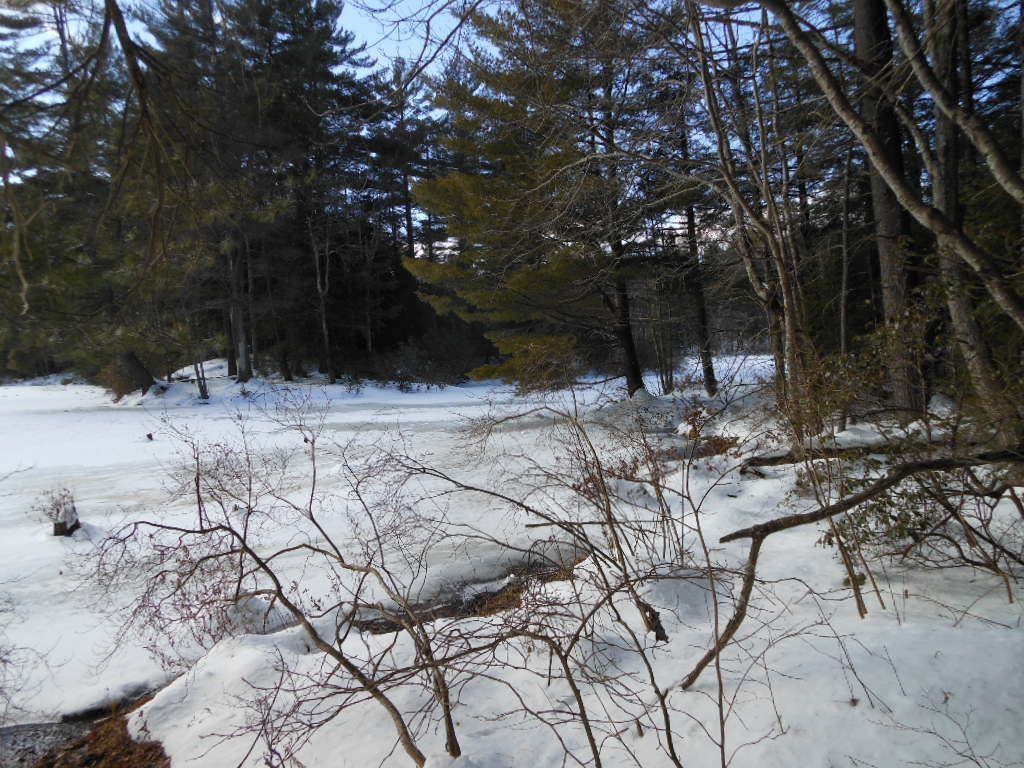
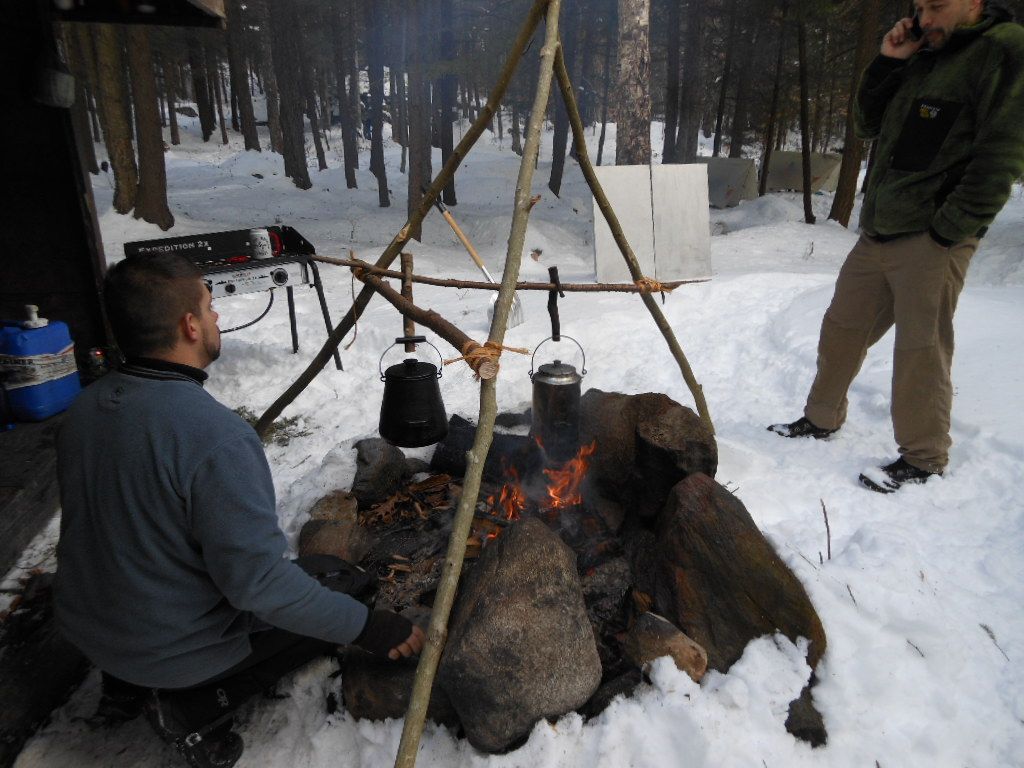
The area chosen for this outing is a Boy Scout camp in western MA. It is an absolutely stunning area. We had a nice little stream running through our area, and were located a stones throw from a pond, where we could fish, if we desired (I didn’t know about this prior, otherwise I would have taken my gear). I got there about 11 on Friday, and was one of the first people to show up. We were expecting a large group-initially almost 40-but, experience with these are that, we usually get about 2/3 of those who say they will go. Fridays temps were in the mid 20’s during the day. We had a communal fire going, and there were 2 pots over it, the entire weekend-one for coffee, one for hot water. The fire was central to our little group-which was nice. We all gathered, talked, cooked, and warmed, near this, the entire weekend. Friday had about 16 people showing up, and setting up camp in our little area. We had the run of the woods, and the ranger made an appearance Saturday, and again Sunday, to check on us. He was a great guy-and had some pretty cool stories to tell (to include a run in with a Bigfoot, twice, in NY…). He was really impressed with all the different hammock setups.

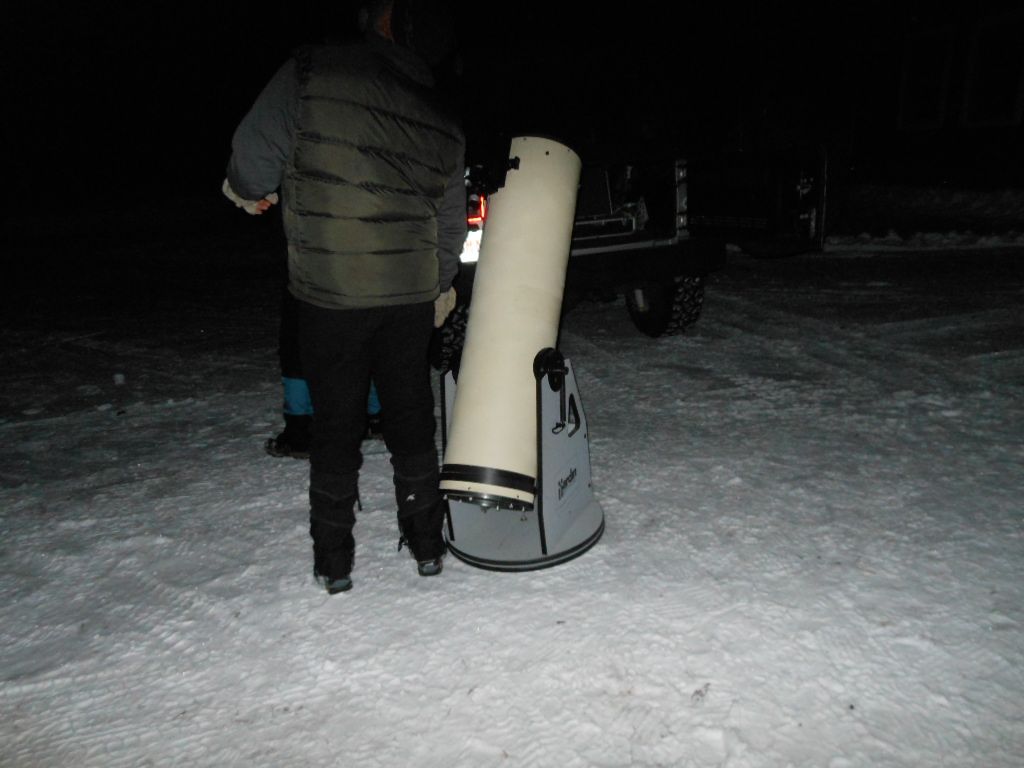
The first night, the temps dropped down to the low teens, with gusting winds of 20 mph. One of the folks there brought a telescope in the back of their jeep, and treated those of us willing to part with the fire, to some pretty cool views of Jupiter and her 5 moons, among other things. As to the wool clothing-I was warm, throughout the night, and throughout the weekend! I think I was the only one who never once had chilled feet. The mukluks & liners were that comfortable. The combination of base layer, sweater, heavy shirt, and vest, kept me warm, and safe near the fire (several folks had sparks land on their down clothing, causing small holes). The first night, sleeping, I was warm, except for my feet. I rectified this with stuffing my puffy jacket into the end of the bag. Problem solved. I got up a few times to answer natures call, and, with the wind, outside the tarp, it was, in a word, freezing.

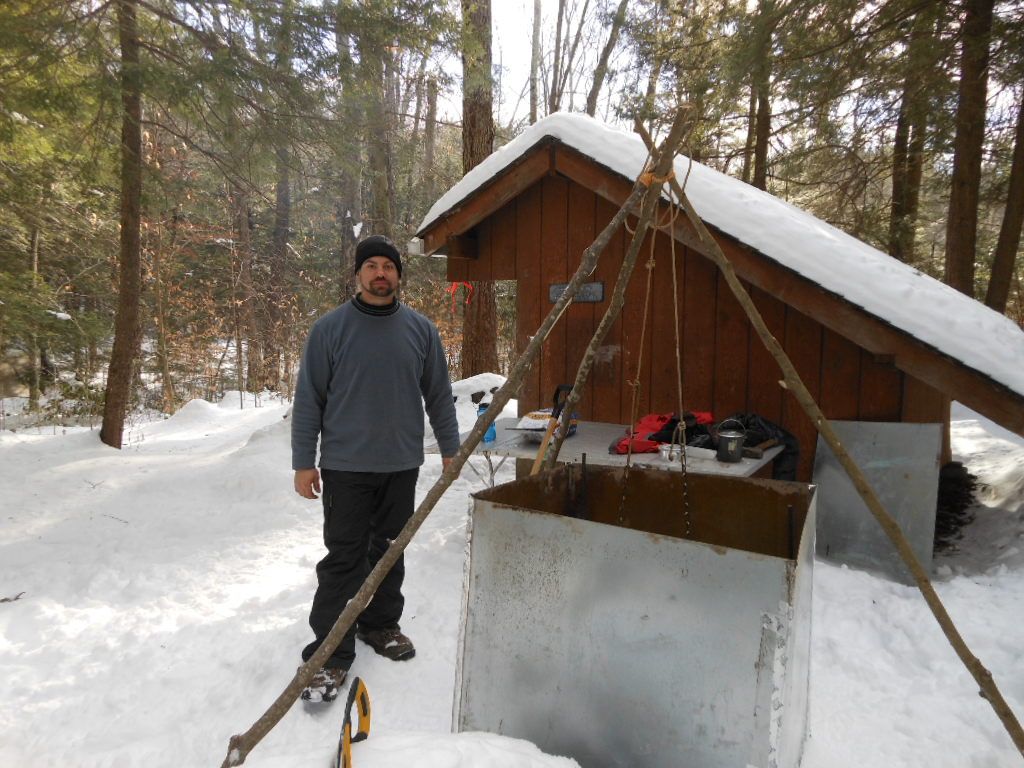
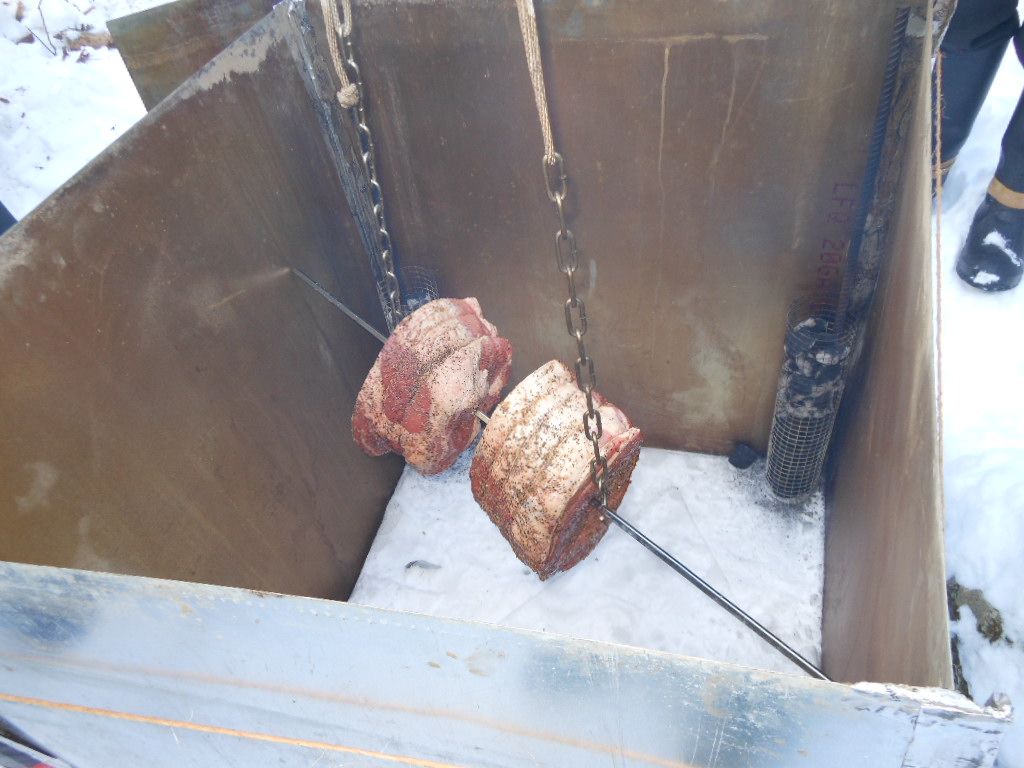
The second day was a little warmer, and I did some exploring of the local pond. I also picked up a hemlock branch, for my emberlit. I was one of the first people up, so I started the fire, which was fairly simple, as we still had embers from the night before. As this was a drive in meet, one of the organizers had a GIANT reflector oven, which he cooked a roast in, over the course of the day (pictures to follow). I learned a new knot as well. I don’t recall the name of it, but it’s a variation of a daisy chain (also picture of the knot below).

We were communing around the fire most of the day, swapping stories, getting to know those of us whom we had never met before. We had a dinner of goat stew, some libations, then retired for the night.

Night 2, it snowed about an inch. Prior to going to bed, I heated up some water in a bottle, and threw it into my socks for the next day, then went to bed. My setup was so efficient, that, the next morning, when I finally got up, the water was warm enough that it only took a couple minutes to get it to a boil for coffee. I was so warm the entire night, I slept with my bag part way open, with overnight temps of 20*. I was woken twice during the night; the first time, by coyotes yipping close to camp, the second, just before dawn, by the mooing of a moose. That’s the first time I have ever heard that sound, and I have to say, it was probably the highlight of the weekend for me.

Overall, it was a GREAT weekend spent outdoors. I met some amazing people, I learned a new knot, I got to test some new equipment, and felt really comfortable wearing nothing but natural fibers all weekend long.


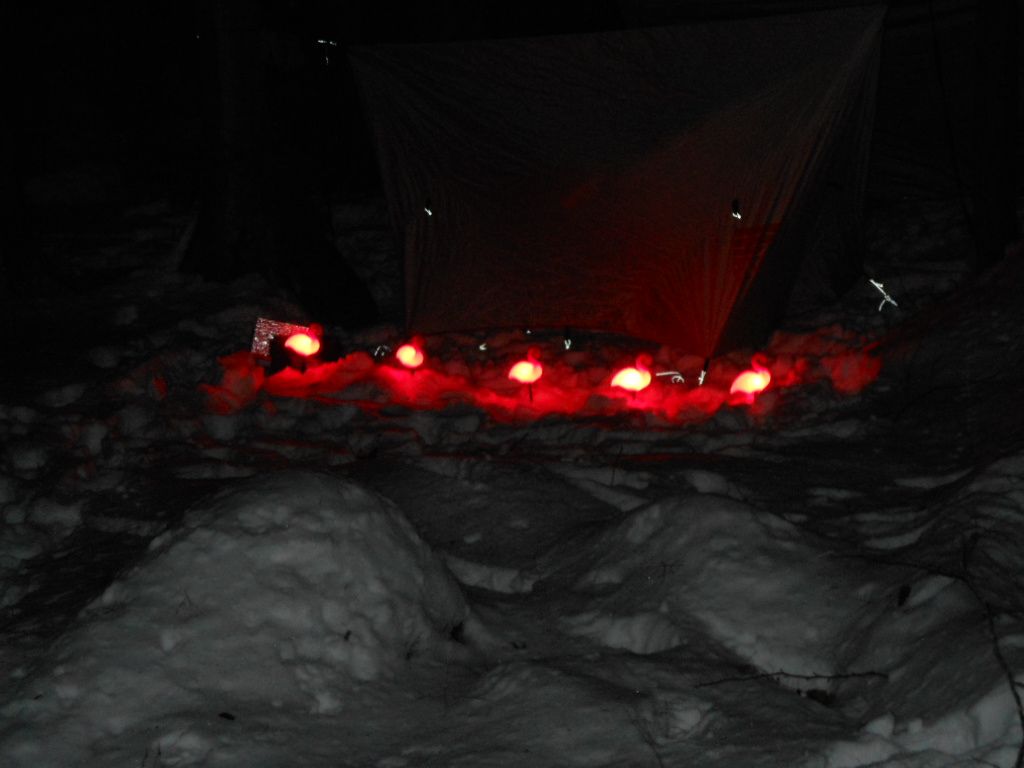
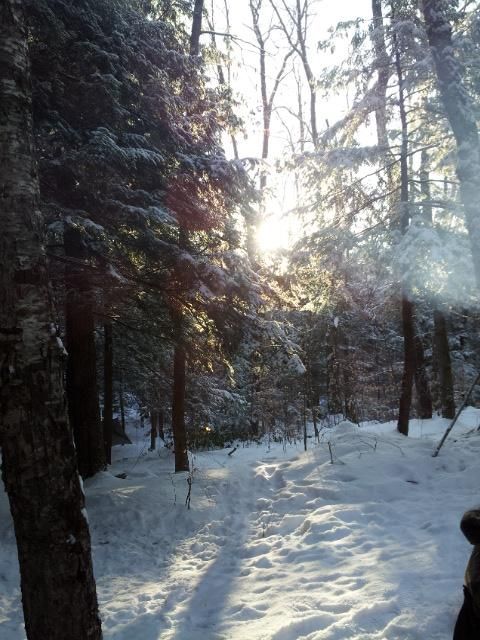
Some pics:


Sunday, December 30, 2012

More new gear testing-boots & pants

Well, as we had our first significant snowfall of the year-and none last year, I FINALLY had a chance to get out snowshoeing. I had bought Nicky some Redfeather snowshoes last Christmas, but we never had any snow. This week, we got 6" on Thursday, and another 9" overnight. So, we went out for a 3 mile loop today, at our local town forest.
The weather was 28*, with gusty winds, in excess of 15 mph. The sky was overcast, with an occasional patch of sunlight. The air was dry. The snow was a nice, light, powdery snow. Overall, a great day to be outdoors-like there is EVER a bad day. I wore, from toe to head, smartwool socks, USAF mukluks, with felt boot liners, German wool pants, an Underarmor T shirt, a wool sweater, a polypro watchcap, ragg wool finger mitts, with poly pro liners. I also started with a goretex jacket on, but got too hot, believe it or not. So, that came off pretty quick. I also carried a backpack with extra gear, and 2 quts of water.
As we were simply out for a little walk in the woods, I didnt really do anything other than some tree ID. It was simply a nice walk outside. The pants are similar to these: http://www.armynavysales.com/products/german-wool-pants/
They are heavy weight, wind resistant, and have what sounds like some sort of plastic lining in the knee area, I assume that is to keep from wetting through, when kneeling. These are actually fantastic pants-I have been searching for something like these for years, for winter outings. They are rugged, sturdy, with cargo pockets, and were my size. I really couldnt go wrong with them, and am vary happy with the purchase thus far. The REAL test will be this weekend, when I have a 3 day hiking/winter workshop, where we will be outside all weekend, practicing winter skills. But, with this test run today, I am happy so far.
The other gear tested were a pair of USAF mukluks: http://www.omahas.com/usaf-issue-mukluks
These are simply canvas boots, with a rubber bottom. They came with 2 pair of felt insoles, which I am using both. They did NOT come with liners, which I am led to believe they dont sell them with them. I ordered liners separately off of Amazon, for about $15.
These are simply canvas overboots, if you arent familiar with a mukluk. Being canvas though, they can possibly leak water in. What I did, was got some canvas wax treatment, and treated the bottom half of the boot-the part most likely to come in contact with the snow. The upper half zip up, and act as gaiters. There really isnt a need to waterproof these, as, for me, they are simply covering up my wool pants, which are water resistant anyway. These are nice & flexible-ideal for snowshoeing, which was my main reason for buying them.
With the liners, my feet were WARM, all day. This is important. They never got hot-no sweating. They never got cold-at ALL. They were covered in snow, for 2 hours. Granted, I was walking the whole time. But, the snow never got in, the melted stuff rolled right off, and the liners, plus the insoles, kept my feet at a comfortable temp-and, my feet are RARELY warm in the winter, due to previous bouts of frost nip. But, not ONCE, did they get cool. Or overheat. Based on this short stint today, I am anticipating a good weekend of use in these. They are definitely for cooler weather-being canvas, even the water resistant stuff, they will still wet out, eventually, with melted snow. One thing I do want to get, is another pair of felt liners. This way, if one set gets wet-even though its wool felt, and will retain heat, wet feet suck-I can trade them out for dry ones, and dry the wet ones when I can-hopefully, over a fire.
And, last up, so nice pictures, of our day out!!


Saturday, November 24, 2012

Teaching the next generation

I had the opportunity to get out on Black Friday, with my fiance & my nephew, for some quality outdoor time. We went geocaching all day, and into the dusk (we didnt make it out of the woods before dark). We made it a sort of bushcraft & geocaching day, where I taught him how to navigate with a map, how to use a slingshot properly, how to correctly use a knife, and how to make fire with a firesteel. It was a fantastic day out with my fiance & nephew-perfect weather, a fun time out in the woods, all finished off with a late lunch by the pond, and a nice evening walk in the dark. Here are a few pictures of yesterday:

Joey feeding the flame

Joeys first metal match fire!

Just a pretty view

My geocaching crew!

DSCN0119

Our end of the day view

Sunday, September 16, 2012

An Emberlit follow up

I just wanted to do a quick followup on the Emberlit wood stove,  as I have been using it for a little over a month now. Coming from a more traditional hiking stove background-canister stoves & alcohol stoves-I was a little wary of this, as I figured gathering burnable fuel would be tedious. After a month of using this every weekend though, I have to say, this is now my go to hiking stove. I have had NO issues gathering materials for it, at all. Yesterday, I had the opportunity to go out into the woods, during and after a drizzle (we havent had much rain here recently). I specifically wanted to find out how hard it would be to get fuel when its damp out. Well, I had no issues at all. Living in New England, we have mixed woods here. More importantly, we have resin producing trees, which burn, even when wet. Pine trees have a particular growth cycle, that helps too-they tend to only have live branches & needles on their crown, letting lower branches die off. What this means is that there is PLENTY of standing dead wood fuel, that is likely dry, or at least drier than what is on the ground. My initial reservations of fuel gathering, thus far, are unfounded. It doesnt take long to get fuel, the stove will not break down or need spare parts, I dont need to be concerned about running low on fuel, and, lastly, this is environmentally friendly-harvesting dead wood, over manufacturing canisters and fossil fuels, both of which require processing plants to do so.
Bottom line is, if you are considering a different stove type, I say give one of the wood burning ones a shot. There is something about making a fire at the end of the day, that feeds that primal instinct. And, its like a portable campfire-that will burn much longer than any canister or alcohol stove will, simply for heat!

Tuesday, September 04, 2012

This past week, outside

As I had mentioned, I was on vacation last week. I attempted to minimize my time online, even via phone, and LARGELY succeeded. It was rather refreshing, actually!!! I limited my computer time-didnt even log into an actual computer until this past friday-and kept my phone on airplane mode most of the week. I DID spend quite a lot of time outdoors, trying out new gear, and generally just being in the woods, where I seem to feel most at peace.
A couple items I tried out for the first REAL time, and want to give a quick review here.
First, a pair of Palladium IDF desert combat "boots". These are, in essence, simply Chuck Taylors, made for the military. They are canvas boots, no insulation, and VERY light. I really like these things-they are light enough to wear all day, and dry out pretty quick once you get them wet. They dont require a breakin period, as they are simply canvas. They only come in a couple colors-more are available, but, from what I understand, hard to come by-so mine are in foliage, I believe they called it. Here are a couple of pictures:
Photobucket

Photobucket
I would rate them a 7, on a scale of 1-10. They are certainly comfortable, and cheap-less than $40 for them. But, being canvas, I dont expect to get more than a year out of them, with a lot of use. The soles are nice, with good lugs, but, my experience with canvas shoes in general is that they dont last forever-certainly not as long as leather. But, you are paying MUCH more for leather boots, so keep that in mind. There is also limited ankle support-I personally feel the whole "ankle support" argument is overrated, as, if you walk correctly, it isnt an issue. But, these dont offer any at all, so, keep that in mind.
Next up, my brand new Real Deal Brazil hat, that my fiance gave me for my birthday. I am not a fan of cowboy hats, but, this is a little different. Its made out of old truck canvas, from trucks down in Brazil. It has a nice, worn in look to it. This is my absolute favorite hat!!! It has a good brim, with a wire that, from what I understand, is a wire from a truck tire. Its malleable, and can be formed to whatever position the user wants. It has a Coolmax headband, but the rest is recycled canvas. These are made by local villagers in Brazil and, speaking with the owner personally, the money they get for each order, goes back into their community. They have built schools, public water and sewer, and most homes now have electricity-as a DIRECT result of the purchase of these hats. So, not only are they environmentally concious, they actually give back to the community they serve. How can you go wrong with THAT???
Photobucket

Photobucket

Photobucket
I did add a hat band I made out of paracord, and s chin strap out of deer skin lacing, to keep it on in windy conditions.
NExt item up is sort of just an update, for the Emberlit stove. I have been using this for a little over a month now, and, I must say, this is now my go to hiking stove, for anywhere in New England. In fact, any where I could get something to burn, I would go with this stove. Its only 5 pieces of stainless steel, or titanium, if you want to go that route-essentially, its simply a mobile mini fireplace. But it works SO well!!! You simply start a little fire, add twigs until its going, then feed fuel in from the side hole. No need to carry fuel, or worry about running out. I have yet to see how difficult it is to find fuel after a rain storm, as we really havent had one yet, but it would be no more difficult that doing so when setting up for a fire. Here are a couple pics of my latest use:
Staring with a twig fire:
Photobucket

Got it going well:
Photobucket

Boiling pond water!
Photobucket
Last up, just a quick review of my ever-changing daily bumming gear.
I have taken to carrying 2 small over the shoulder packs: a water/stove kit, and a haversack, for other stuff. Here is what I carry:
Photobucket

Here is the breakdown of this stuff:
Photobucket
Water bottle, cup, plastic mug, titanium spork, Emberlit stove, canteen cup lid, and a container of PCJBs. Also, in the top of the lid, are 6 water tabs, for chemical treatment of water.

My haversack:
Photobucket
A tarp, with 4 aluminum stakes, a ridgeline, and 8 small pieces of 550 cord, a notebook, some guide books, a first aid kit, an emergency blanket, some boil only food in the blue bag(enough for 2 days), a small pair of binos, a small metal container that has a fire kit, fishing kit, sharpener, and wire saw in it, and has duct tape on the outside, and, finally, some writing utensils. Not pictured, my compass, a lighter, my SAK, and my Condor Bushlore, with a fire steel. Those items, I have on me.

Thats it for this installment. I am thinking the next one, I am going to do some foraging-scratch that. Next up, I will go over my new bow!!! :)

Thursday, August 23, 2012

Some craftiness this weekend!!!

So, first off, this past week was my birthday. My LOVELY fiance got me a Real Deal Brazil hat for me-absolutely LOVE it! I crafted a braided 550 cord hatband for it. Have worn it several times so far this week, and this is now my go-to outdoors hat. I need to make a chin strap for it, as it does sit a little loose (choice between small, or large, and I KNOW a small wouldnt fit), as it can have the propensity to blow off in a good wind.
Next, I picked up 2 things I am excited about: first, a Samick Sage takedown recurve bow, with a 45# pull. I have shot it in my backyard a few times, and LOVE this bow!!! I may even try my hand at hunting next year. We will see.
Second, I got a pair of Israeli desert boots. They are, in essence, Chuck Taylor sneakers. I want to give them a go, see how they feel in the woods. Initial impressions, they are lightweight (being made of canvas), and should be cool enough for summer weather.
So, anyway, the plan is to get out for an overnight from Sunday to Monday, in the Federated Women's State Forest, out near the Quabbin Reservoir in MA. My understanding is that you can do primitive camping there, and myself and a friend are going to knock out some lessons for our Basic Bushcraft classes. I should be able to close mine out this week, and submit my certification by Friday. I only need a couple things (some basic firecraft skills), and my outings, which I plan to knock out by the end of next week. So, stay tuned, I should have some interesting pictures to show soon!

Thursday, August 09, 2012

New day pack

As I am getting more & more into the whole bushcraft thing, I am finding that I am looking into more traditional gear. First, let me back up a little-I have an addiction. I LOVE packs, of all kinds. I currently own maybe 10 packs, ranging from lumbar packs, all the way up to expedition packs, with a capacity of almost 8000 ci. Now, I rarely use most of them-I use my Kelty 3000 almost all the time, and, up until very recently, my Mountainsmith Lumbar pack, that I recently went over in another post. But, as I stated, I was looking for something a little more traditional, for woods bumming. I wanted something cheap, to start with-something that I could afford to spend money on, and, if it wasnt for me, sell off, with minimal loss to me.
There are several that I would LOVE to have: The Isle Royal by Duluth Packs, is the one all others are measured by. I like the pack-but, dont like the lack of a frame. And, at over $300-which, as it is handmade, I understand the pricing-it was more than I wanted to spend, particularly as this will be my first more traditional pack.
Second on my list, and a little more affordable, was the Continental Rucksack by LL Bean. I have toyed around with this, and really like it. Its a little more in my price range-about $140-AND it has an internal frame. I read a LOT of reviews on it, and, overall, it seems to fare pretty well. The major complaints are the shoulder straps. It seems, after some use, they have a tendency to roll in. The shoulder straps are imitation shearling, backed by thin canvas. Most people either return it for a new one (LL Bean has a no questions asked return policy), or they modify it by sewing old leather belts as backing, to keep the rigidity. The one major drawback, for me at least, is that they are manufactured in China. But, I think that, for a larger overnighter, this may be my next purchase-we will see though.
So, I continued my search-something a little smaller than the 2 listed above. Duluth Trading Co. has a smaller version of their Royal Isle, the RI Jr, but, again, the price is out of my range. So, I started looking into surplus packs.
I started looking into foreign military packs-Italian packs, Swedish packs, Swiss packs, Czech packs, and German packs. My main priorities were, besides price (and, all these were cheap), were canvas, sufficient room for gear for an overnight, and the long term reviews. And, of course, I was looking at style too, but, that sits pretty low on my priority list.
After taking ALL this into consideration, I finally settled on the German Mountain Rucksack, which was a reproduction of a model during the 60's. The pack I got is new, unused, but was manufactured in 1990. As it doesnt come with shoulder straps, they put on an old LCE shoulder straps onto the D rings for this. Originally, this ruck was designed to clip into a  suspender system used by German forces. But, as I didnt want that, and, well, they seem to be impossible to get anyway, the seller has taken to adding these straps.
I havent taken it out yet, but, here are my initial thoughts on this rucksack. First, it appears very durable. it is a heavy canvas. The closures for the 3 pockets (2 sides, 1 front), are metal buckles. The top lid is a cinch style closure. The large internal main pack is plenty large enough to carry gear for an overnight, and then some. The 2 side pockets can hold a 32 oz Nalgene bottle (1 in each, of course), and the large central pocket can hold quite a bit of gear as well. There is a large pocket in the main compartment, that I have slipped a cut down CCF pad in there, for back support, and as a kneel or sit pad. There is also a top lid compartment, similar to what is found on the top lid of ALICE rucksacks.
Loading it up, I noticed a couple things. First, this is my first time trying one of these. Coming from a traditional backpack background, this rucksack sits low. Something I need to get used to. Second, the shoulder straps provided by the seller are lacking. They arent well padded (the original LCE straps arent made to carry heavy loads, simply to help support the web belt). These will be replaced, this weekend. They also pull in a different direction than what I am used to. As there isnt a waist belt, all the weight rides on your shoulders. Which, for now, is fine-this is primarily a daypack, so I shouldnt need to carry too much. I could pack it for an overnight too, but I wouldnt go with any more than 20 lbs of gear in this, as I think it would become too cumbersome.
I made some slight modifications to it as well. Other than replacing the straps, I also removed the top drawstring. There isnt anything wrong with the one it comes with-its a simple cotton string. But, I wanted something a little more durable. I replaced it with 550 cord, and put a wooden bead on it, for a keeper. I tied a loop of 550 cord through one of the eyes in the top, to hang my hawk from. I also added 2 small pouches, on either side, through the belt loops-one contains my compass & signal mirror, the other my first aid kit.
I have the following items currently in here: one side pocket, a military poncho. The other side pocket, a DD hammock (no bug net). The center pocket, my rope kit in a Maratac pocket pouch, my fire kit in an old decon container, my shelter kit in an old top pouch for a military ruck (it contains a 5x7 tarp, a ridgeline, and several lengths of 550 cord, and a Heatsheet), a slingshot, my gerber saw, and a small set of binos. The top lid has my map, and writing stuff (pencil, paper, map marker). Inside, I have a military wet weather bag, which I will put clothing in, as needed, for the weather. I also have my 14cm Zebra pot, which has 2 days worth of food packed inside it, and a Katadyn Basecamp water filter. As I play around with this, expect to see a little more feedback. I am planning on a couple of overnights in the next few weeks, and will update then. For now, I am also attaching some pictures, so that you have an idea what the rucksack looks like.

Wednesday, July 25, 2012

My daypack

A friend of mine asked what I normally carry in my daypack. As this can vary, time to time, and, well, texting all the contents is laborious, I decided to put up a quick blog post in regards to what I usually carry. Mind you, this WILL vary, depending on the time of year, where I am going, what I am planning to do, etc. But, generally, this is what I carry as a base:
First, I have an older Mountainsmith Lumbar pack I use as my main dayhike pack. I purchased shoulder straps for it, to keep it from pulling my pants down. I prefer the lumbar pack as its slightly cooler than a traditional backpack. But, I am actually looking into a canvas rucksack, for a more traditional look. We will see...
Anyway, the contents (in no particular order):
2 water bottles. I have a Nalgene bottle, and a NATO water bottle. I also have a NATO cup, that I can use to boil water in, or cook in, as needed.
A Gerber saw-for, well, cutting wood...
A Heatsheet survival blanket. These are MUCH tougher than the myar ones. A little more expensive, but worth the additional couple of bucks, in my opinion
A notebook, with a pen and a pencil. For taking field notes.
10' of brass hobby wire. This is for making snares, should the need arise, or, more likely, making shelters or repairing gear.
Folding diamond sharpener. For touching up my knives.
20' of cotton line-for making shelters, marking trails, etc.
50' of 550 cord. This is for making shelters, tying things-it has a myriad of uses.
Cammenga military compass. I ALWAYS carry a compass-I have tried civilian compasses, and find I am more comfortable with this version, even though it is MUCH heavier than a civilian one.
Garmin GPS-a small wrist top GPS, in case I want to map my trek, or a quick reference for a grid of where I am.
Leather work gloves-for handling hot pots, going through brambles-pretty much anything you would need gloves for.
Cordage kit. This is 6 separate pieces of 550 cord, each about 5' long, and a 2 strand braided twist of 550 cord, about 15' long, for use as a ridgeline.
a 6x8' tarp, for shelter. Either worn, if needed, or in making a shelter.
A large plastic bag, to keep my maps and documents in.
A Suunto Vector wristwatch, with cobra knot cordage for the wrist strap (that I made).
First Aid kit-bandaids, meds, etc. In a waterproof container.
My emberlit stove-for, well, a stove.
Sea to Summit spoon, for eating.
(Not shown) Water purification tabs.
A little microfiber towel. I carry a yellow one, so that it can also serve as a signalling device.
Condor Bushlore beltknife, in a handmade leather dangle sheath.
Firesteel.com Ranger firesteel. Probably the best one I have used yet.
Swiss Army Knife Farmer. I got this for both the saw, and the awl, which I use as my firesteel striker.
I have a full ration kit that I take-it contains oatmeal, ramen, some non cook snacks, coffee, and cocoa.
Shemagh, which is just an oversized handkerchief. This is such a useful piece of kit, I wouldnt go without it.
I also carry a jacket, rainjacket, or something for inclement weather. The LAST thing I want, if I get stuck out overnight, is to be stuck without some sort of jacket. I use a heavy wool shirt, in the picture below, which serves well for 5 months out of the year. As I am often working with fire, I prefer natural materials, as they dont burn. But, I usually stick to wool, as cotton sucks when its wet.
All of this easily fits into the lumbar pack, as shown. Its easy to carry, and, should something happen, I have enough gear to spend a night or two out, if needed. I cover shelter, water, and fire. I have signaling devices, and navigational aids. I even carry food. Anything I may need, I can fabricate. As my skills get better, my load will certainly decrease.

This is the lumbar pack, full:
Uploaded from the Photobucket Android App

The contents:
Uploaded from the Photobucket Android App