A friend of mine asked what I normally carry in my daypack. As this can vary, time to time, and, well, texting all the contents is laborious, I decided to put up a quick blog post in regards to what I usually carry. Mind you, this WILL vary, depending on the time of year, where I am going, what I am planning to do, etc. But, generally, this is what I carry as a base:
First, I have an older Mountainsmith Lumbar pack I use as my main dayhike pack. I purchased shoulder straps for it, to keep it from pulling my pants down. I prefer the lumbar pack as its slightly cooler than a traditional backpack. But, I am actually looking into a canvas rucksack, for a more traditional look. We will see...
Anyway, the contents (in no particular order):
2 water bottles. I have a Nalgene bottle, and a NATO water bottle. I also have a NATO cup, that I can use to boil water in, or cook in, as needed.
A Gerber saw-for, well, cutting wood...
A Heatsheet survival blanket. These are MUCH tougher than the myar ones. A little more expensive, but worth the additional couple of bucks, in my opinion
A notebook, with a pen and a pencil. For taking field notes.
10' of brass hobby wire. This is for making snares, should the need arise, or, more likely, making shelters or repairing gear.
Folding diamond sharpener. For touching up my knives.
20' of cotton line-for making shelters, marking trails, etc.
50' of 550 cord. This is for making shelters, tying things-it has a myriad of uses.
Cammenga military compass. I ALWAYS carry a compass-I have tried civilian compasses, and find I am more comfortable with this version, even though it is MUCH heavier than a civilian one.
Garmin GPS-a small wrist top GPS, in case I want to map my trek, or a quick reference for a grid of where I am.
Leather work gloves-for handling hot pots, going through brambles-pretty much anything you would need gloves for.
Cordage kit. This is 6 separate pieces of 550 cord, each about 5' long, and a 2 strand braided twist of 550 cord, about 15' long, for use as a ridgeline.
a 6x8' tarp, for shelter. Either worn, if needed, or in making a shelter.
A large plastic bag, to keep my maps and documents in.
A Suunto Vector wristwatch, with cobra knot cordage for the wrist strap (that I made).
First Aid kit-bandaids, meds, etc. In a waterproof container.
My emberlit stove-for, well, a stove.
Sea to Summit spoon, for eating.
(Not shown) Water purification tabs.
A little microfiber towel. I carry a yellow one, so that it can also serve as a signalling device.
Condor Bushlore beltknife, in a handmade leather dangle sheath.
Firesteel.com Ranger firesteel. Probably the best one I have used yet.
Swiss Army Knife Farmer. I got this for both the saw, and the awl, which I use as my firesteel striker.
I have a full ration kit that I take-it contains oatmeal, ramen, some non cook snacks, coffee, and cocoa.
Shemagh, which is just an oversized handkerchief. This is such a useful piece of kit, I wouldnt go without it.
I also carry a jacket, rainjacket, or something for inclement weather. The LAST thing I want, if I get stuck out overnight, is to be stuck without some sort of jacket. I use a heavy wool shirt, in the picture below, which serves well for 5 months out of the year. As I am often working with fire, I prefer natural materials, as they dont burn. But, I usually stick to wool, as cotton sucks when its wet.
All of this easily fits into the lumbar pack, as shown. Its easy to carry, and, should something happen, I have enough gear to spend a night or two out, if needed. I cover shelter, water, and fire. I have signaling devices, and navigational aids. I even carry food. Anything I may need, I can fabricate. As my skills get better, my load will certainly decrease.
This is the lumbar pack, full:
The contents:
Wednesday, July 25, 2012
Tuesday, July 24, 2012
A day out in the woods
This past Saturday, I went out for a few hours' hike. I went to a local town forest, where there is ample room for rambling. I had a new stove I wanted to try out too-an Emberlit wood stove. This was the primary reason for going out (other than for my mental health!!!), so, I will do a dandy little review on it.
The Emberlit stove is a collapsible, wood burning stove, that comes in either SS or, from what I understand, titanium. The website lists the weights at 11.3 oz for the SS, and 5.45 oz for the titanium. They are either $35, or $55, respectively. I went with the SS one myself.
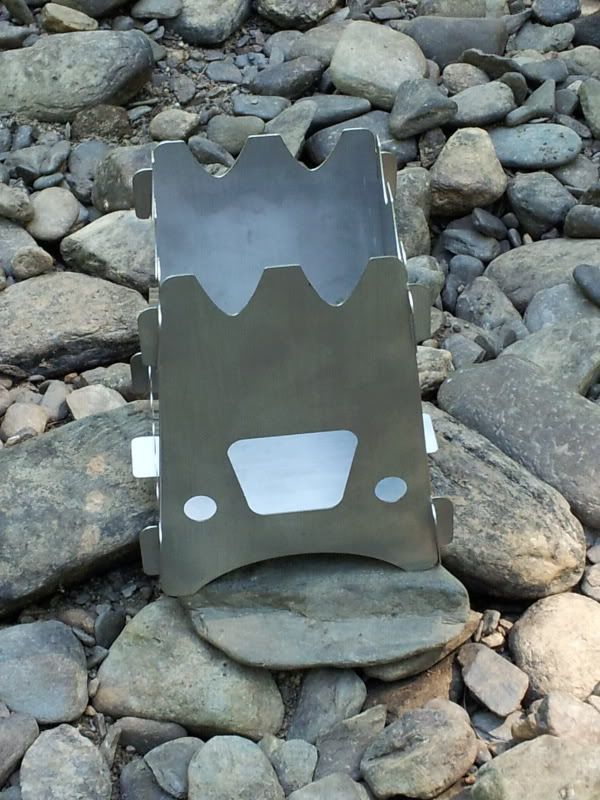
The stove comes completely unassembled. There are 5 parts-4 walls, and the bottom. The walls all attach with little slots, and the bottom has tabs on 3 ends, that also slide into slots. One wall has an opening at the bottom, to allow for fuel to be put it.
Assembling is dead simple. Attach the back, and 2 sides together, insert the floor, then the front side. The front side requires a little twisting to line it up, but, once assembled, this this is rock steady.
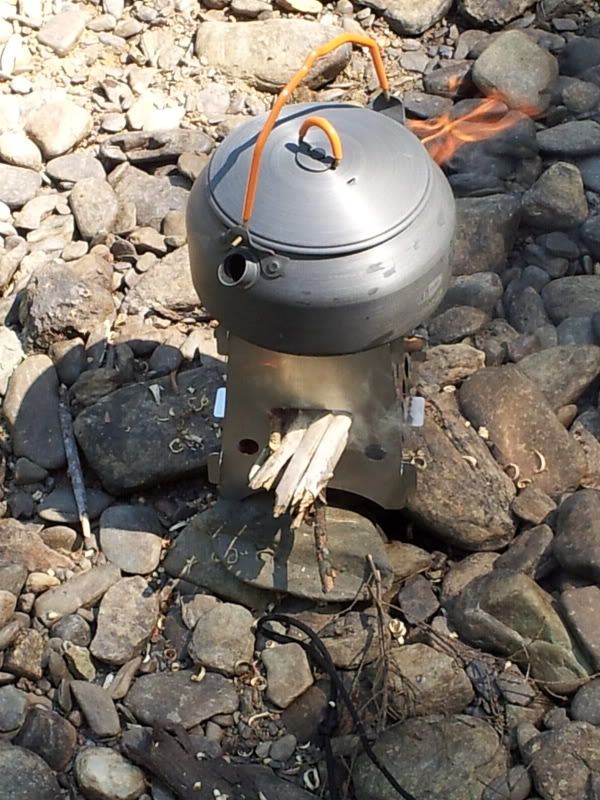
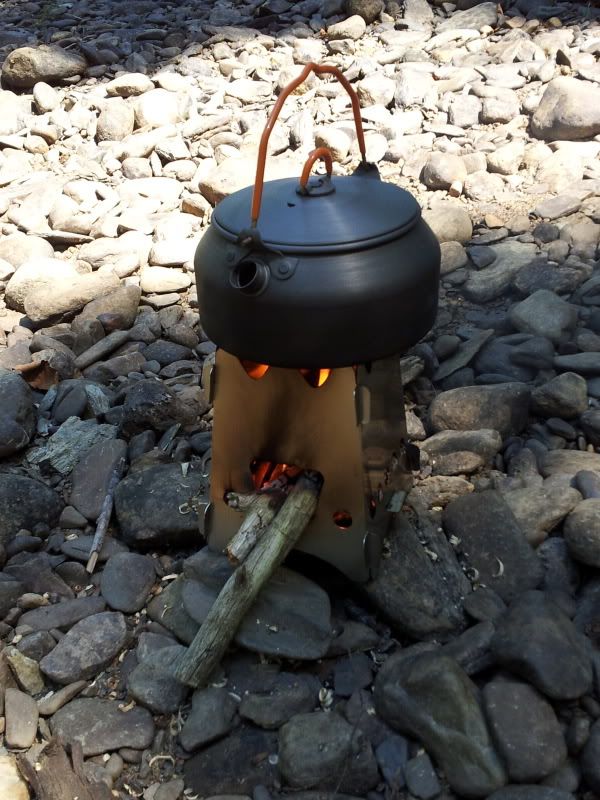
To use, simply light a fire inside it, and feed it. You dont need large pieces of fuel-I used pieces about a thumb width, once the fire was going. This burns quite efficiently-all the heat is directed up to the pot. There are small holes in the sides, for airflow. Water boils fairly quick-I didnt time it, but I would estimate it took 5-6 minutes to boil 2 cups of water. Honestly, this is where wood stoves are great-you dont have to worry about burn times, as fuel is limitless. But, it is certainly comparable to alcohol or canister stoves.
Some of the plusses of this stove:
Simplicity
Ease of use
No fuel to carry
Sturdy
Cheap
Nothing to break or wear out
Some of the cons of a wood stove:
Dirties your cookware
Fuel must be found (although, here, in New England, that isnt an issue)
Cannot use in a tent (you shouldnt use ANY stove in a tent, but, even vestibule cooking, I would advise, as the flames are unpredictable)
Must feed the stove on occasion
A few take aways from this; based on this ONE test, I was satisfied with the performance. My plan is to go out in less than ideal weather, and try it then. One can ALWAYS find dry wood, but, I want to see how hard it is to do so.
I use a flint & steel exclusively for lighting fires. I would suggest taking some sort of priming source-PCJB, jute twine, tinder quick-to get a quick light. I did this with ONLY natural tinder, but it did take some time.
Prep of fuel is key, as it is for any wood fire. Its better to have more, than less. And, if staying somewhere for a couple days, or even overnight, get enough for several lights, for ease of use.
For this particular stove, you get a better burn if you keep the feed port stuffed. If there are gaps in the fuel, flames have a tendency to lick out. This doesnt provide optimum burning of the fuel-and increases boil time. I find that keeping it stuffed, helps with both. That way, the flames only have one real route-upwards.
A feature I liked about this was that, you can use fuel as long as you want-I wouldnt go any longer than a forearm though-so long as they can fit into the fuel port. As it burns, you keep pushing it into the stove itself.
Again, I have only used this stove once. And, that was in good weather. As I plan to use this as a primary stove for a while, I am sure I will encounter other things, either good or bad, with it. As I do, I will post. But, based on this one outing, and no other stoves of this type to go by, I think I have a winner with this one!!!
Now, some pictures (also one of a coyote I came across):
Here it is, in the package:
Here it is, disassembled:
Here it is, assembled:
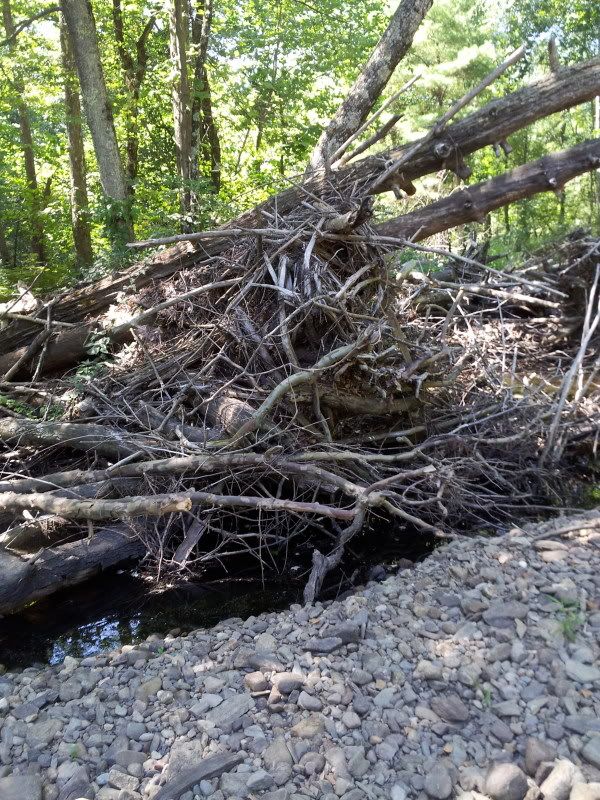
Here is what I used for my fuel source:
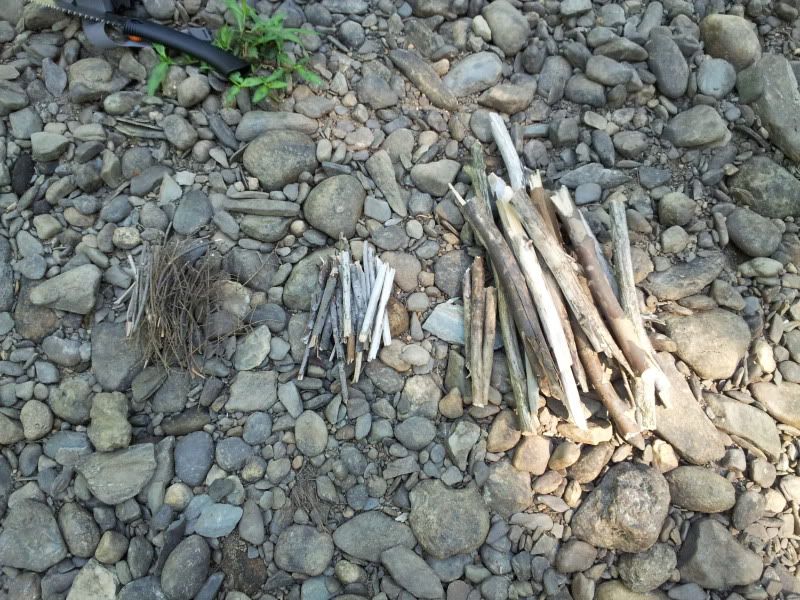
Here is my fire prep:
Here it is, fired up:
One more:
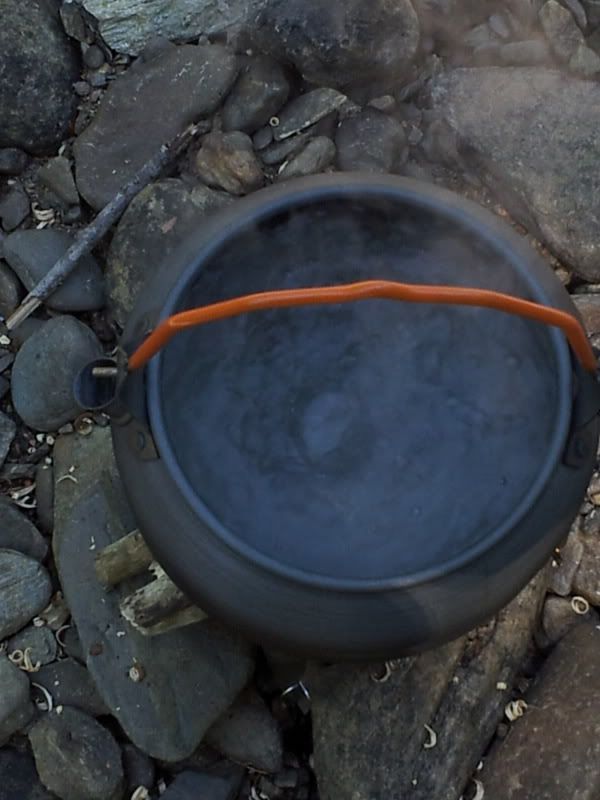
Water, at a boil:
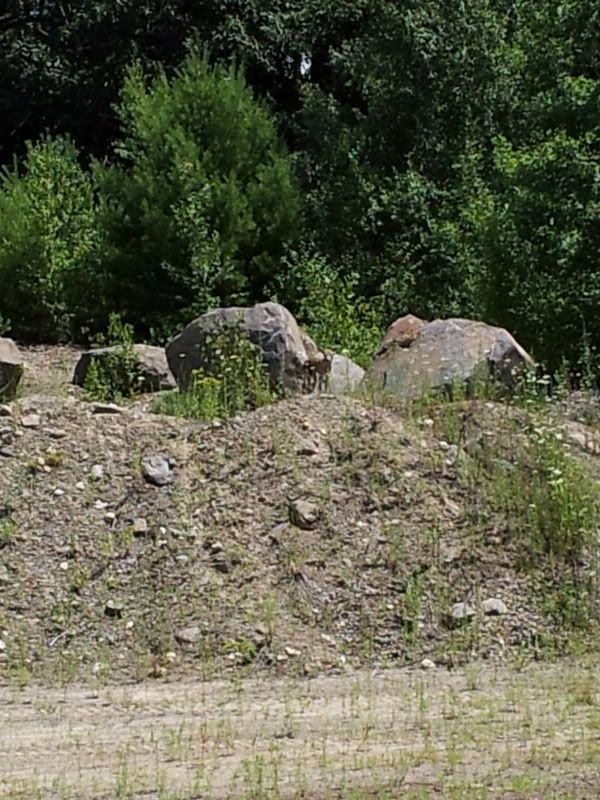
And, last up, coyote!!!
Subscribe to:
Posts (Atom)